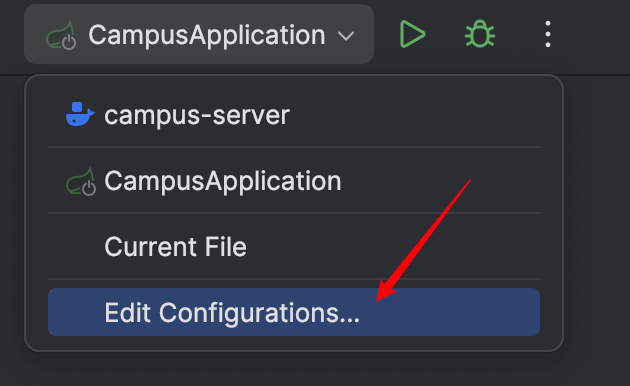
部署系统
部署系统
# 后端部署
打包之前,需要检查数据库、Redis等配置是否为线上环境
# 打包
项目根目录使用如下maven命令打包:
mvn clean package
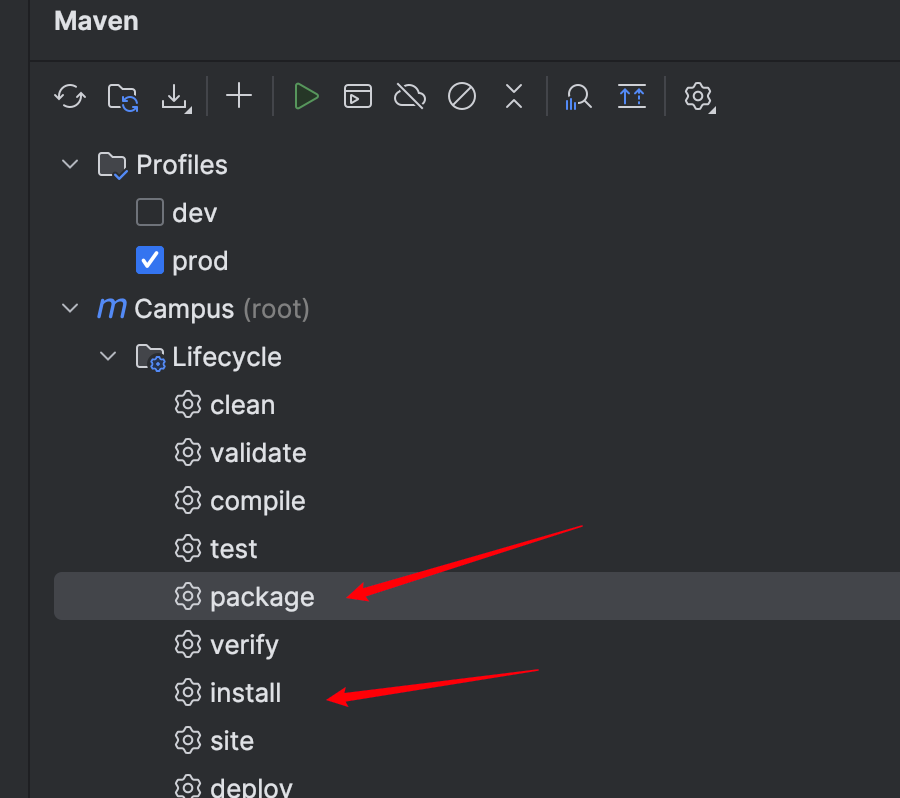
如果使用的是IDEA工具,右上角的 Maven -> Lifecycle 中,依次点击 clean package
之后在 campus-modular 模块 target 目录,可看到打好的jar包
# 部署
需安装好需要的环境
在jar包目录下,启动命令:
nohup java -jar campus-modular.jar > campus_log.log &
启动之后在当前目录的 campus_log.log 是启动日志
# 常见问题
如果提示当前权限不足,无法写入文件请检查文件上传的路径,是否有可读可写操作权限
# 前端部署
# 打包
命令如下:
# 打包正式环境
npm run build:prod

# 打包预发布环境
npm run build:stage
2
3
4
5
包成功之后,会在根目录生成 dist 文件夹,里面就是构建打包好的文件
通常情况下 dist 文件夹的静态文件发布到你的 nginx 或者静态服务器即可,其中的 index.html 是后台服务的入口页面。
# Nginx配置
worker_processes  1;

events {
    worker_connections  1024;
}

http {
    include       mime.types;
    default_type  application/octet-stream;
    sendfile        on;
    keepalive_timeout  65;

    server {
        listen       80;
        server_name  localhost;
		charset utf-8;

		location / {
            root   /www/wwwroot/xxxxx.com/dist;
			try_files $uri $uri/ /index.html;
            index  index.html index.htm;
        }

		location /prod-api/ {
			proxy_set_header Host $http_host;
			proxy_set_header X-Real-IP $remote_addr;
			proxy_set_header REMOTE-HOST $remote_addr;
			proxy_set_header X-Forwarded-For $proxy_add_x_forwarded_for;
			proxy_pass http://localhost:8160/;
		}

        error_page   500 502 503 504  /50x.html;
        location = /50x.html {
            root   html;
        }
    }
}
2
3
4
5
6
7
8
9
10
11
12
13
14
15
16
17
18
19
20
21
22
23
24
25
26
27
28
29
30
31
32
33
34
35
36
37
若你使用 宝塔 部署,添加站点后,只需在最后添加以下 nginx 配置
location / {
	root   /www/wwwroot/xxxxx.com/dist;
	try_files $uri $uri/ /index.html;
	index  index.html index.htm;
}

location /prod-api/ {
	proxy_set_header Host $http_host;
	proxy_set_header X-Real-IP $remote_addr;
	proxy_set_header REMOTE-HOST $remote_addr;
	proxy_set_header X-Forwarded-For $proxy_add_x_forwarded_for;
	proxy_pass http://localhost:8160/;
}
2
3
4
5
6
7
8
9
10
11
12
13
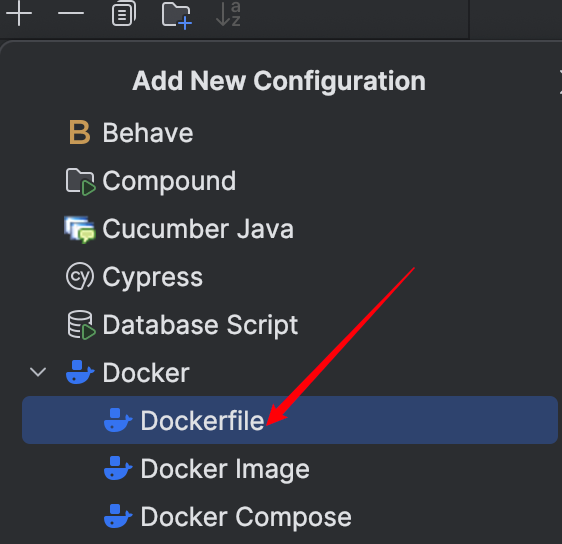
# Docker后端部署
配合IDEA里的Docker功能,可快速方便部署
# IDEA环境配置
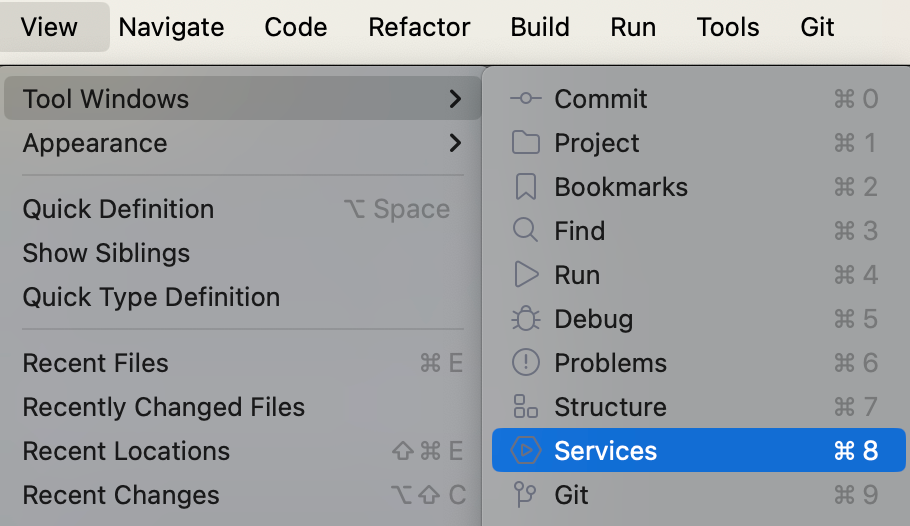
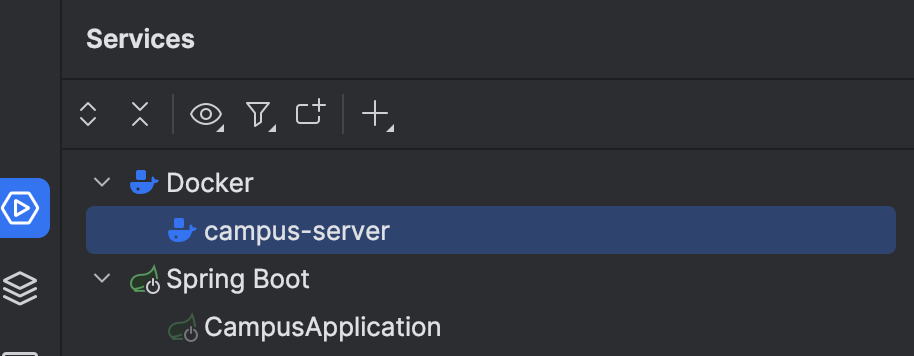
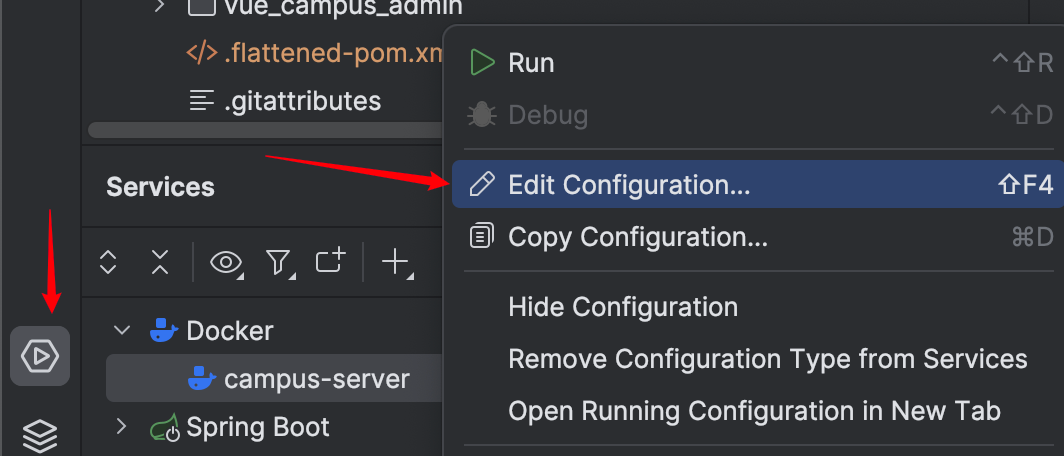
打开 服务窗口
识别到本项目里的Docker执行配置文件
点击 + 号添加,搜索Docker
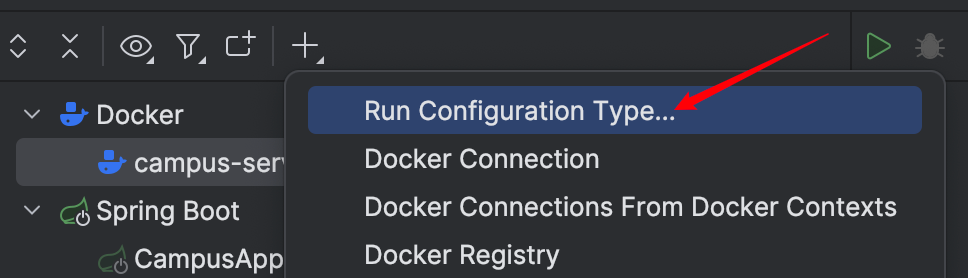
若没有识别到,可自己手动添加识别
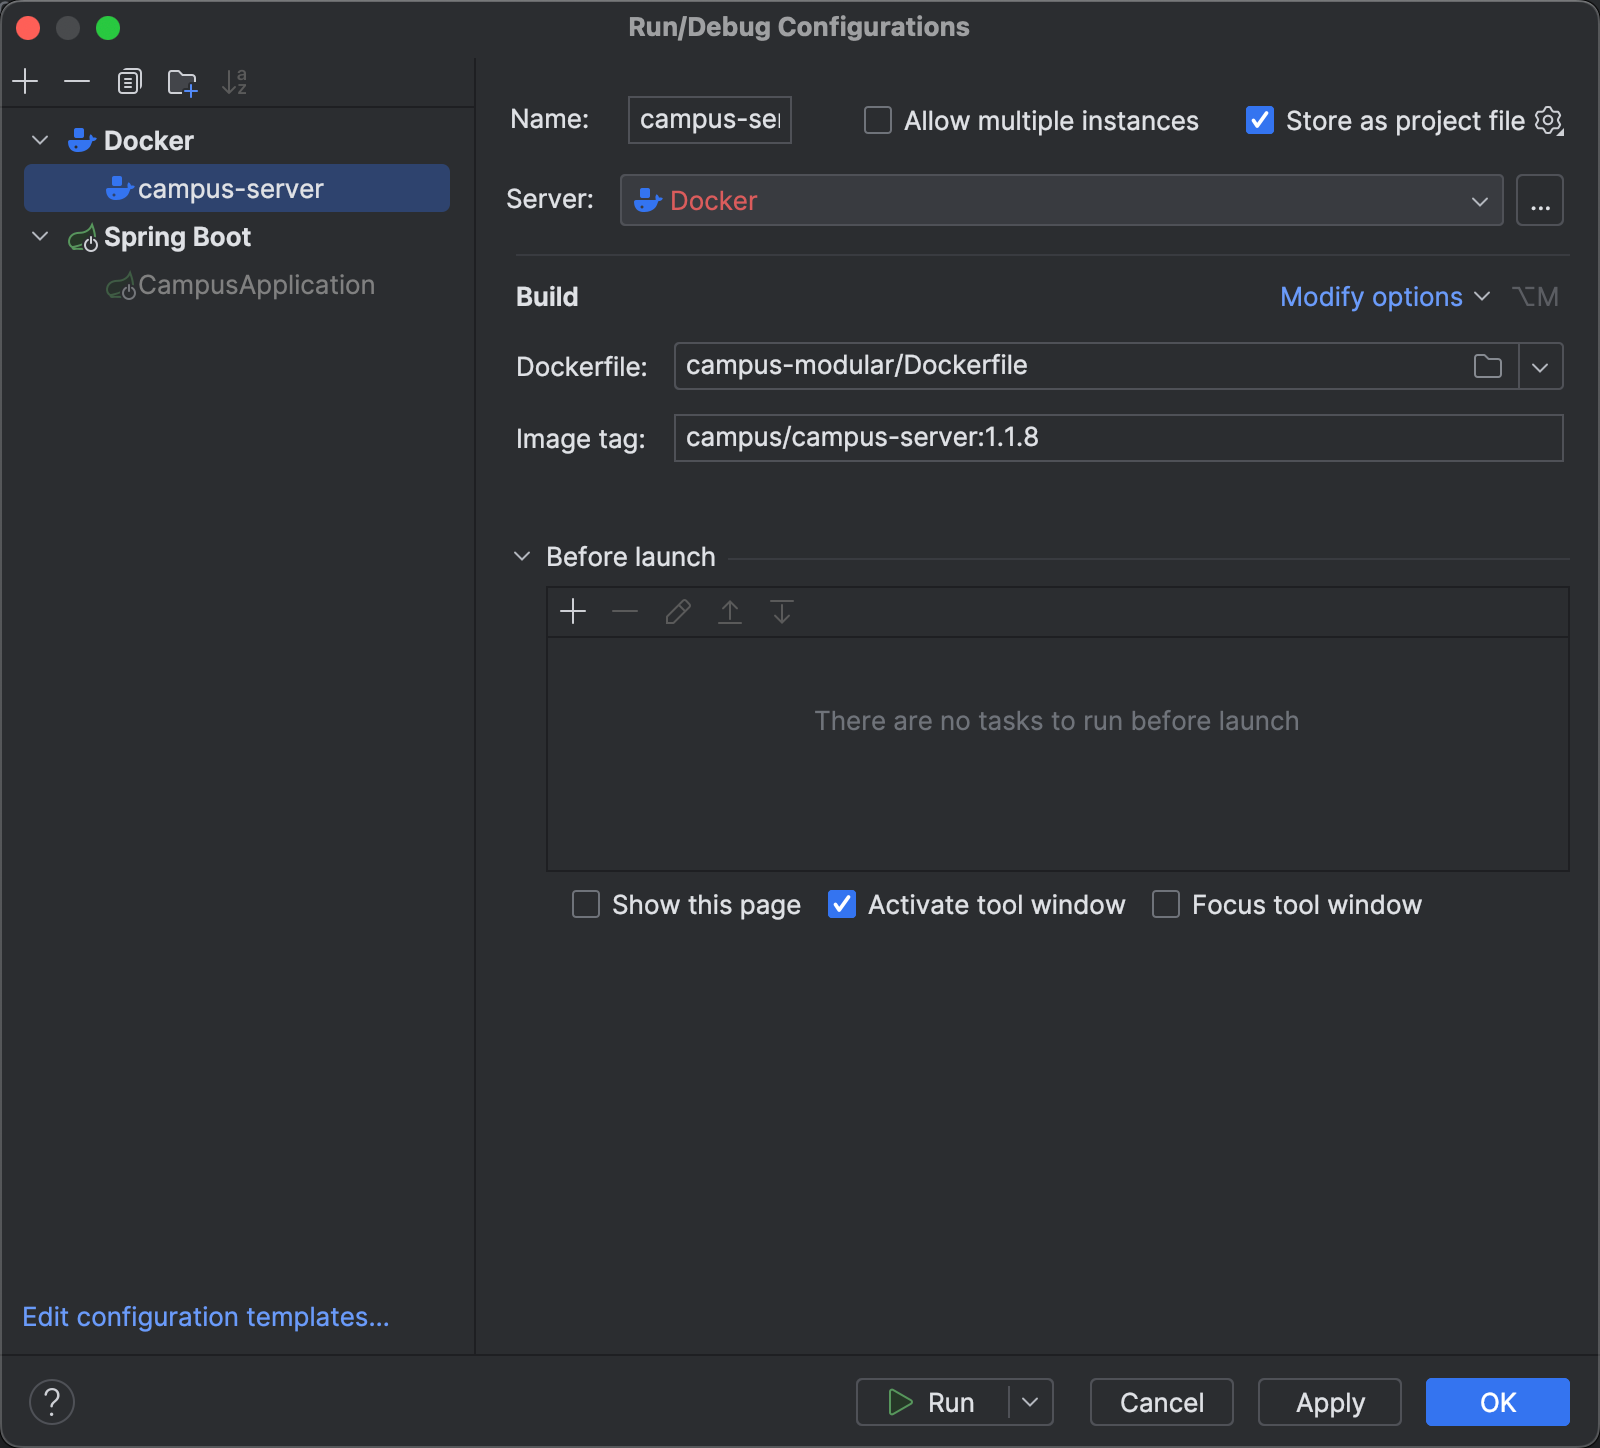
配置
选择Server,若没有则添加(在Server里有 Create new)
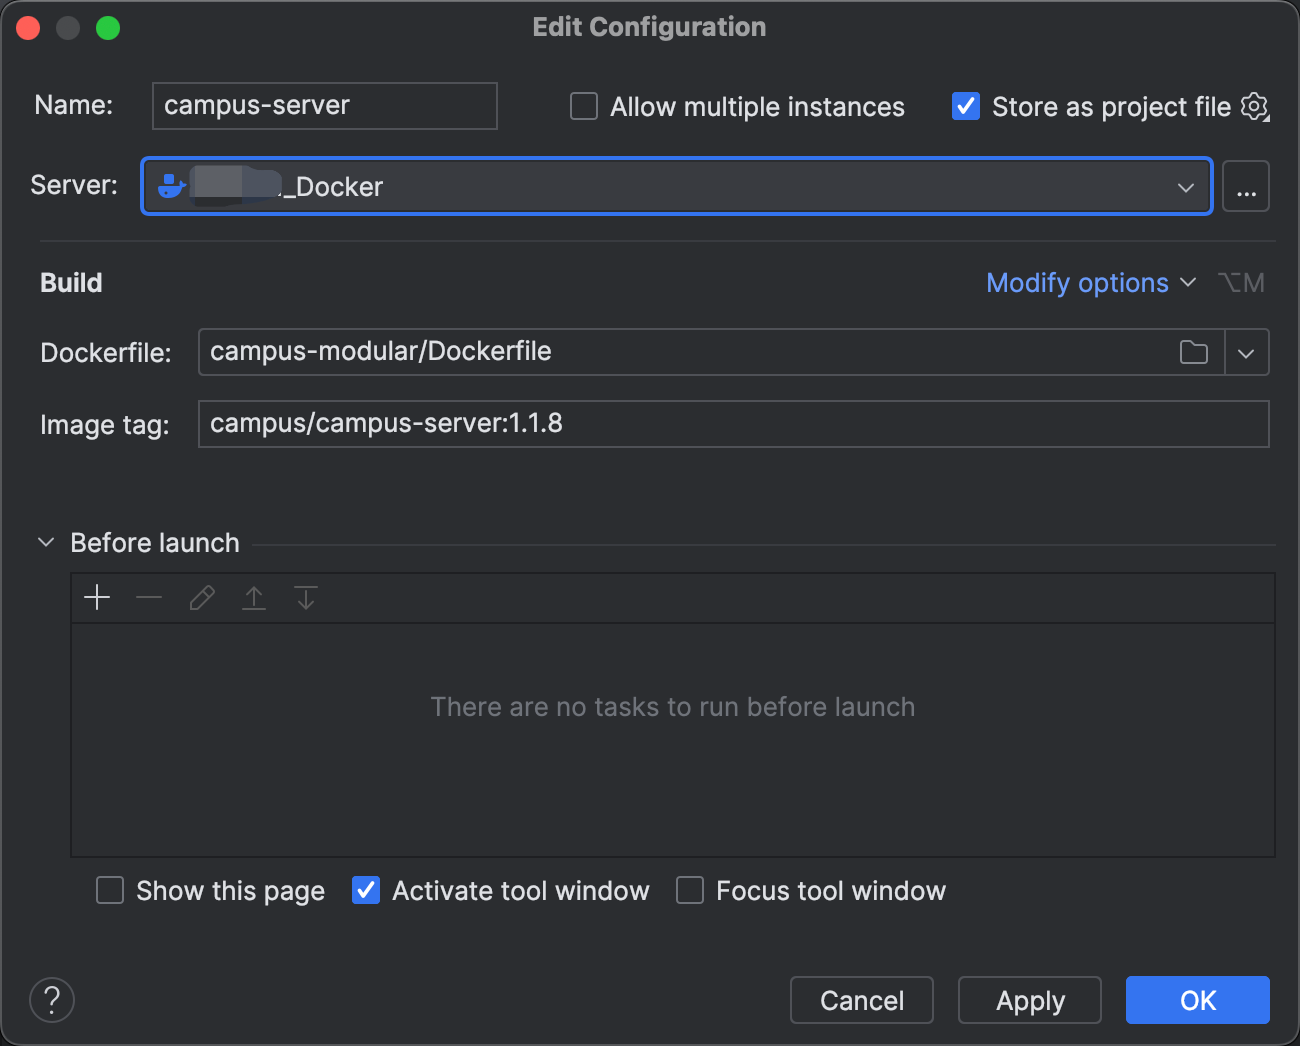
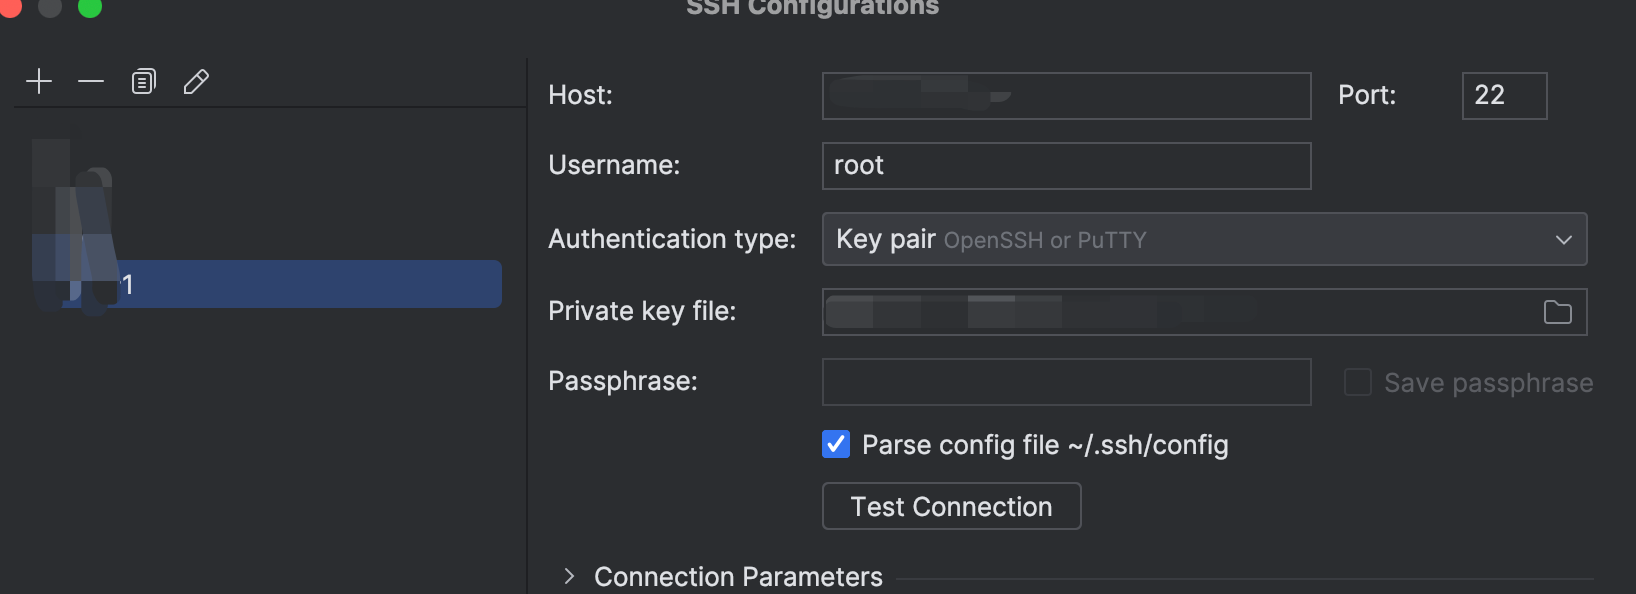
建议选择 SSH 连接
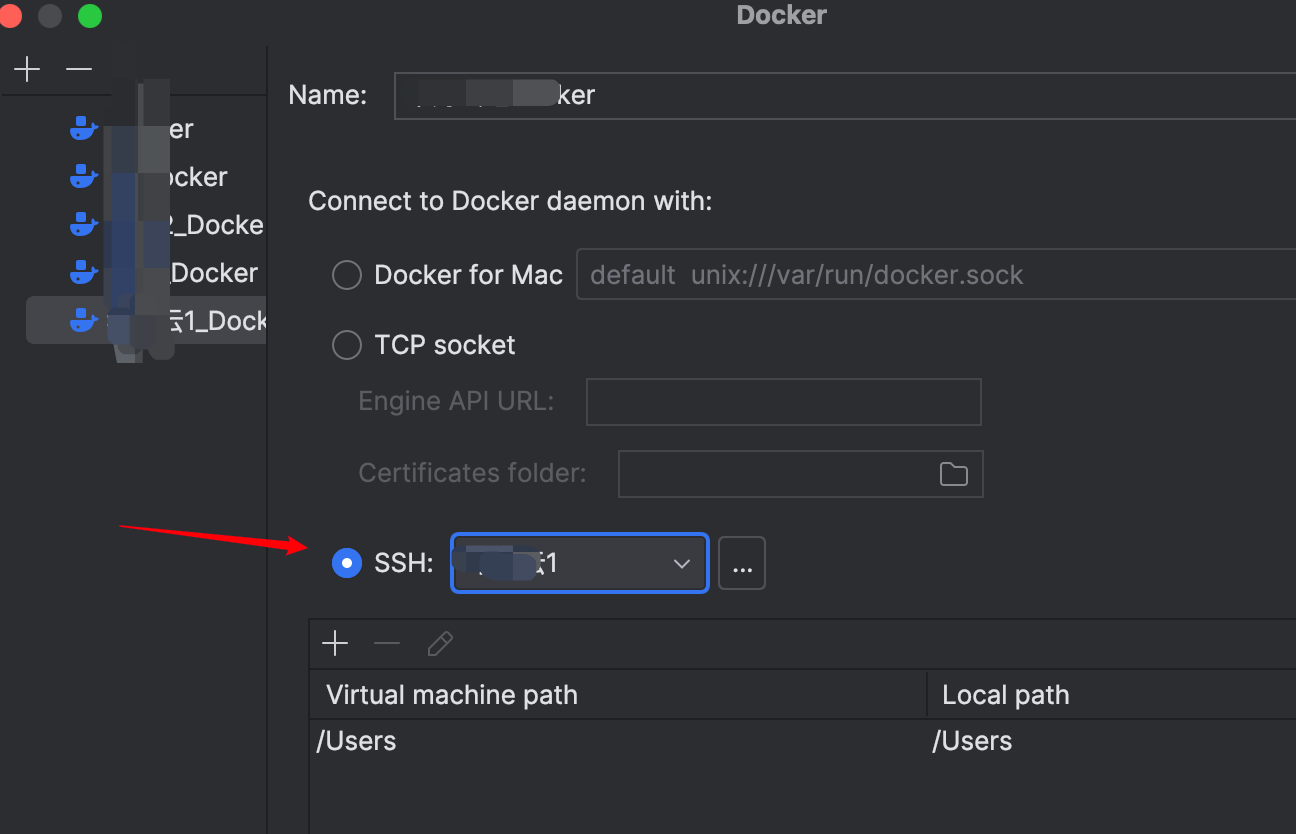
ssh配置里连接方式建议选择 Key pair (IDEA 2023.3.1要求,低版本可使用账号密码)
# 开始构建
- 1、Docker目录上传到服务器根目录
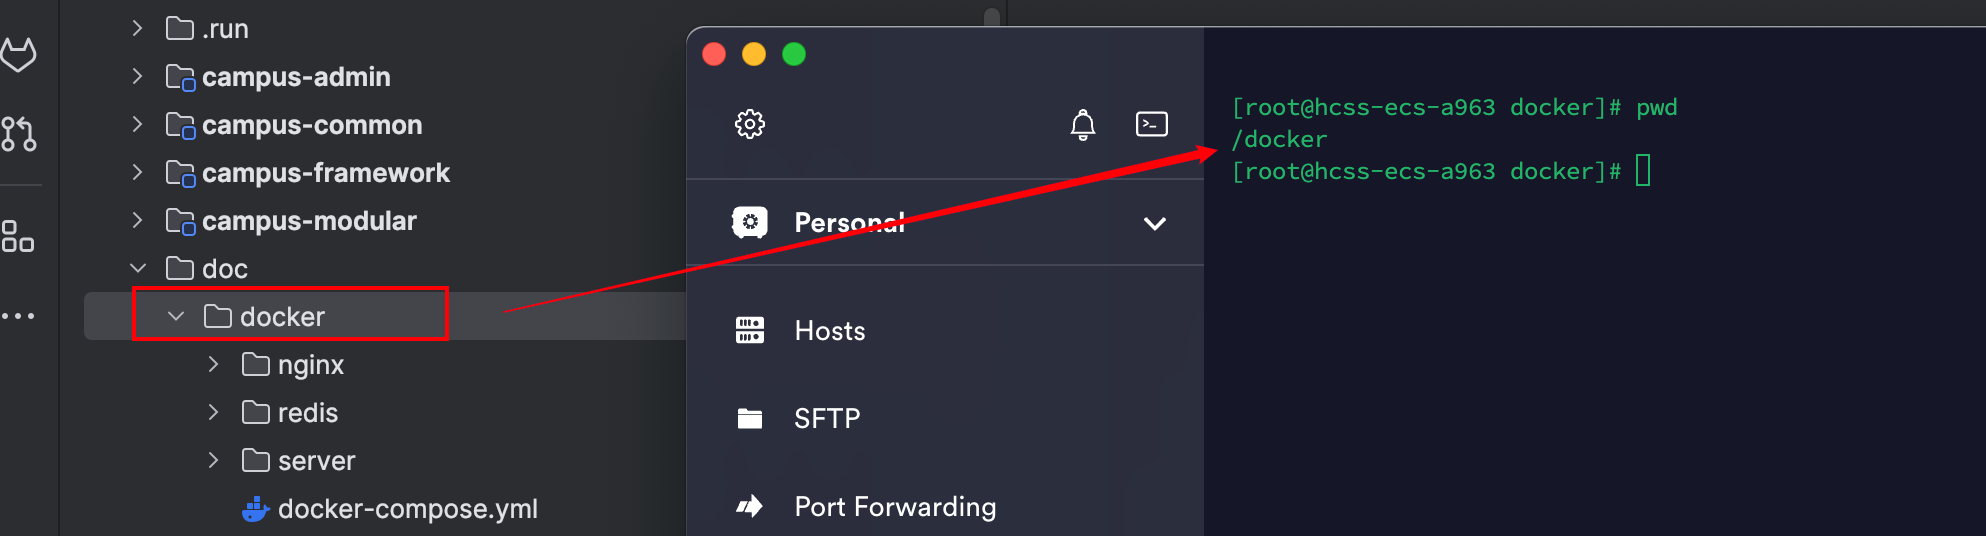
给docker分配文件夹权限
一定要分配权限,确保目录 /docker 及其所有子目录具有写权限
chmod -R 777 /docker
- 2、构建镜像
IDEA 中需要先使用maven打包成jar包
install package都可以
执行构建前需配置好docker连接之后
运行如下即可构建对应的应用镜像
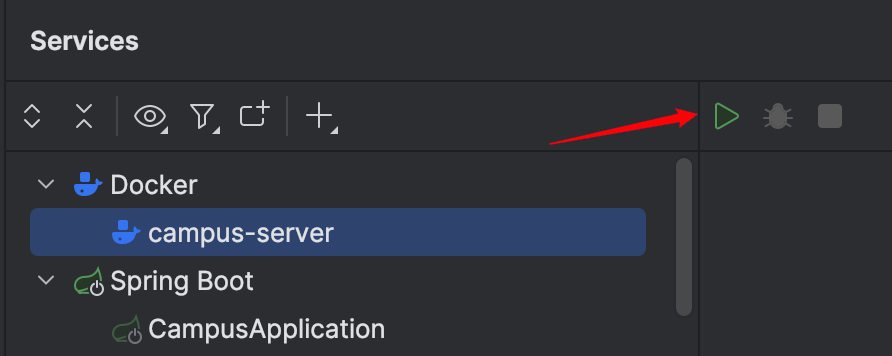
构建成功后的镜像及日志

# 运行
在之前上传的 docker 下执行
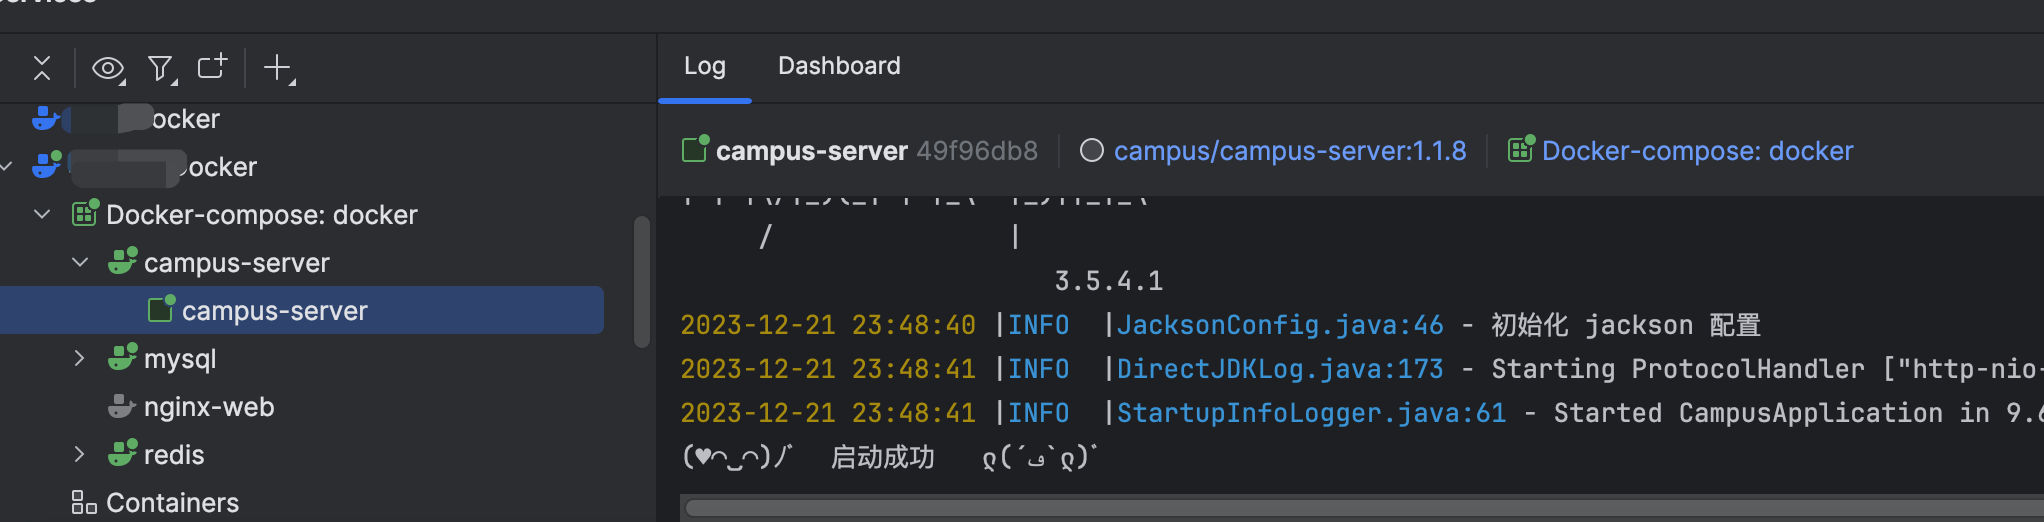
[root@hcss-ecs-a963 /]# cd /docker
[root@hcss-ecs-a963 docker]# docker-compose up -d campus-server
Creating campus-server ... done
[root@hcss-ecs-a963 docker]#
2
3
4
启动成功后
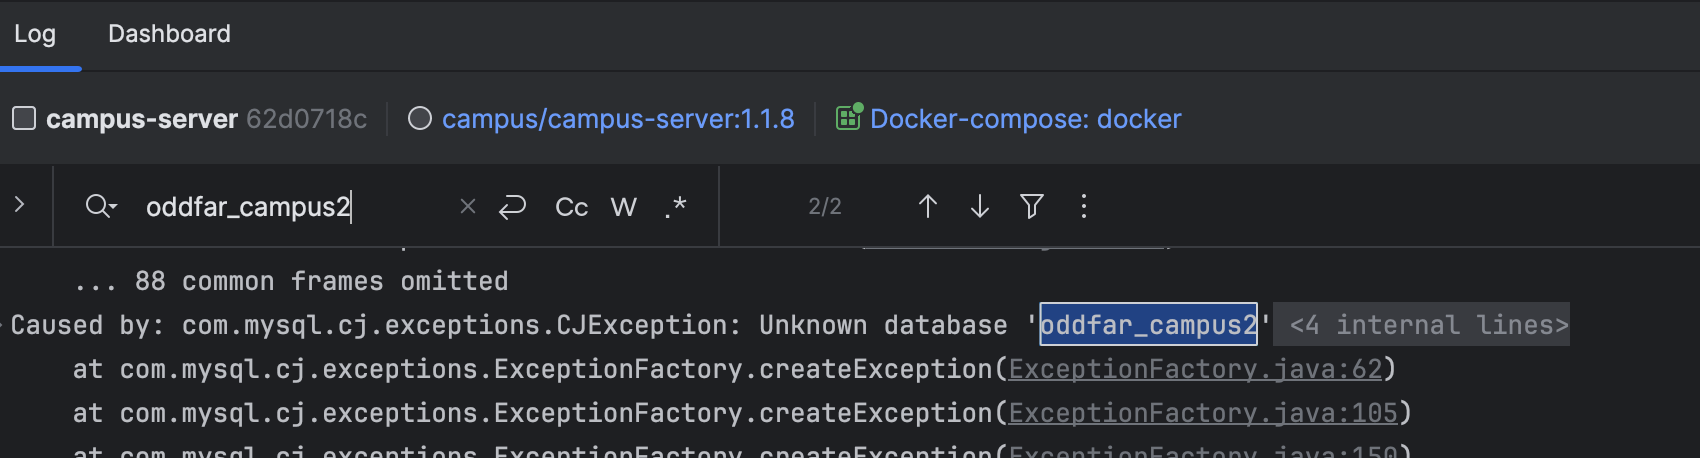
为了测试我是在docker中运行了 mysql redis,这俩服务需要在 campus-server 之前启动
docker-compose up -d mysql redis
- 若不在docker启动
mysqlredis,需要挂载使用外部配置文件
1、在 /docker/server/conf 创建 application-prod.yml 文件
修改对应的mysql redis连接配置
2、docker启动中添加环境
spring.config.additional-location: /home/campus/conf/application-prod.yml
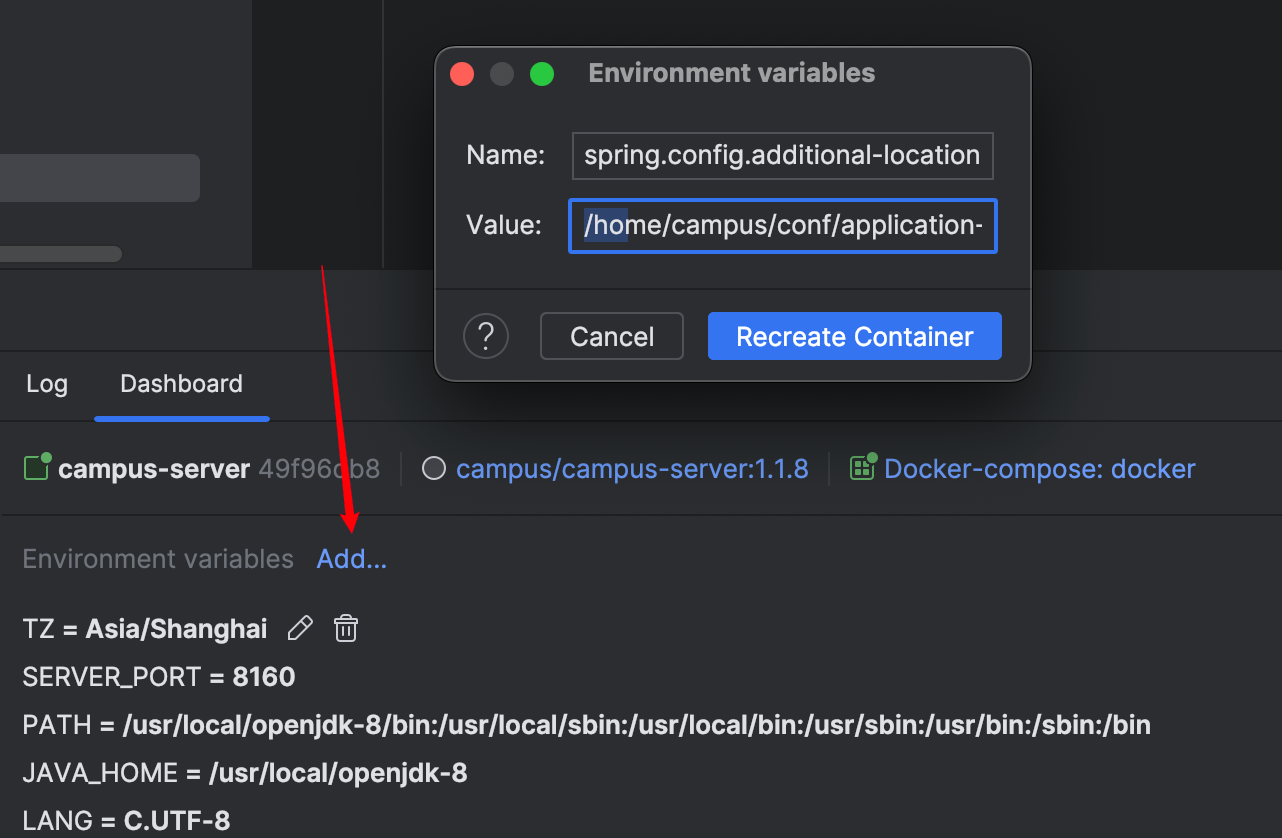
之后重启容器
我这里修改了数据库名导致启动识别,证明已经使用了外部配置